Pullip customization
Body changing
I think I have never had that many problems during a body change. I had so many ideas about how to change it, but none of them worked perfectly.
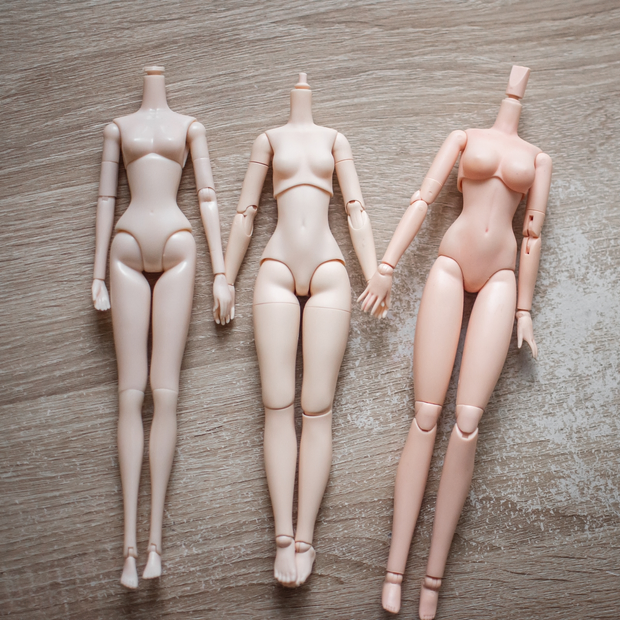
In the photo, you can see the original Pullip body, the new Obitsu 26cm body, and the old SBH Obitsu 27cm body.
Obviously, the original Pullip body’s neck is perfect. At my first Pullip custom I used an old SBH Obitsu body, where I only changed the neck peg that arrived with the body, cut shorter and screwed the screws a bit more to hold the head better. THAT’S IT!
I have never thought that the new Obitsu body will not fit at all with these small changes. The first thing that I checked: can I make a custom neck with epoxy clay? The first problem showed here – the new Obitsu’s neck joint where should fit the head, was on a higher point, so even if I make a new neckpiece, the neck will be too long and the head will not cover the soft Obitsu neck part. So the custom neck should start when the soft skin part ends.
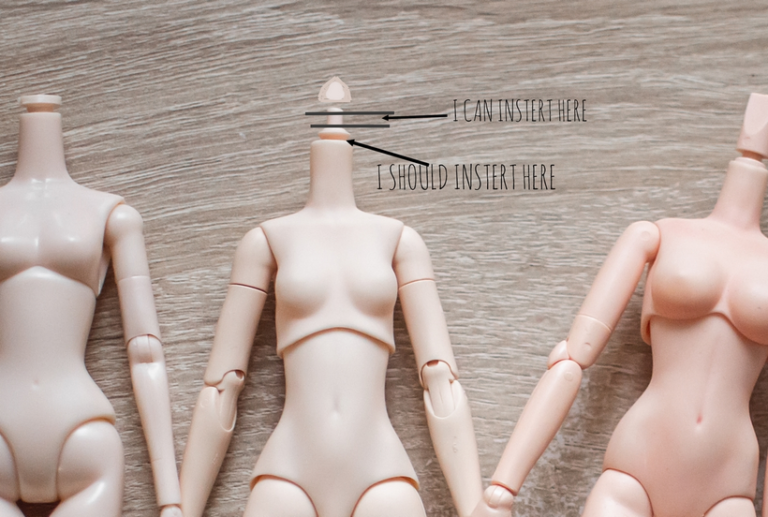
Here comes the problem #2: if I remold the whole neck, I need to remove the soft bust. I need to make a neck which is not thicker because then I can’t put back the soft bust piece.
Then I had another idea: what if I change the two Obitsus inner armature, so I can use the new body with the old armature.
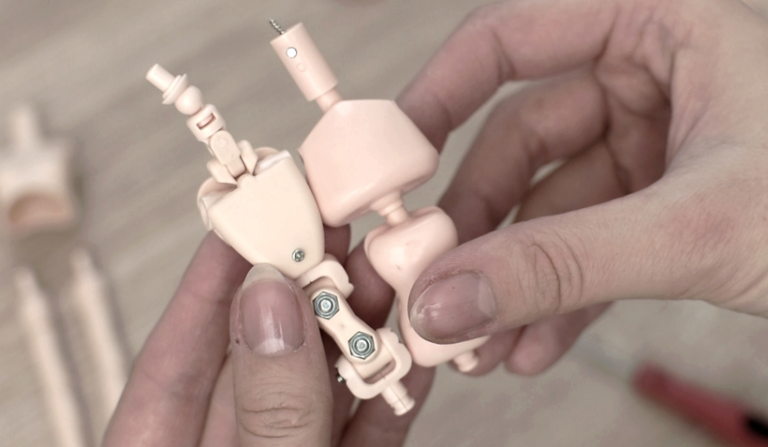
Their size is almost the same, but when I assembled the new body with the old armature I realized that the skin is a bit smaller at some parts and bigger some other parts. So this won’t work either.
I also tried to attach the original Pullip’s neck to the new Obitsu body, but after I cut the neck off the body I realized it won’t work because it’s too thick and I can’t put back the soft Obitsu skin… even if I sand it to be thinner.
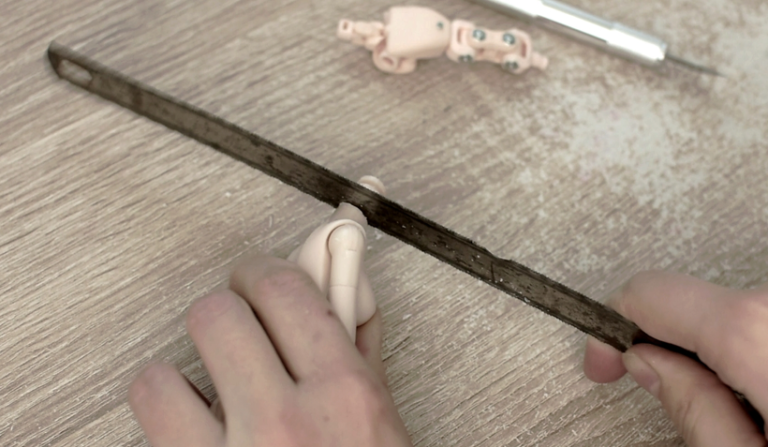
So yeah… I ruined the original body and I had no idea what to do!
Today, after 4 fails, I returned back to my original idea: I’ll remold the neck!
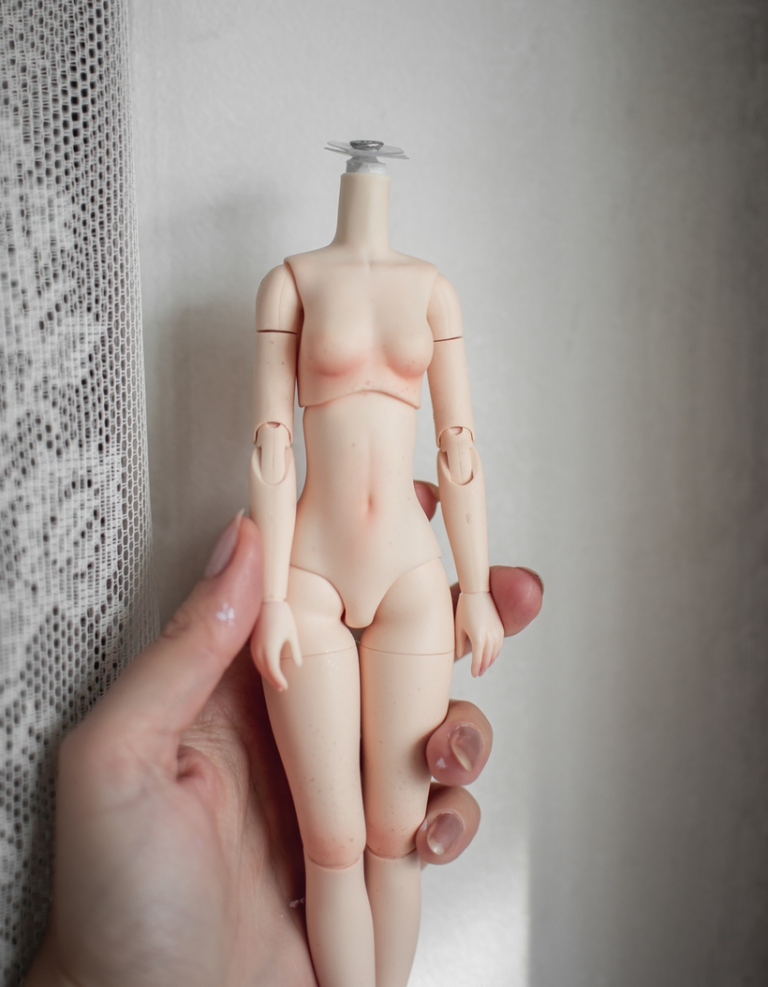
To do this, I removed the small neckpiece which is seeking out of the soft Obitsu skin. I added a short screw and I wrapped epoxy around it. After the epoxy has dried, I sanded under the head of the screw, so this sanded part was as thick as the hole on the head, so I could put the head on.
I added the screw because I was afraid the epoxy will not be strong enough and I did not want that the head broke the epoxy off for some reason. So the screw is adding better support for the epoxy.
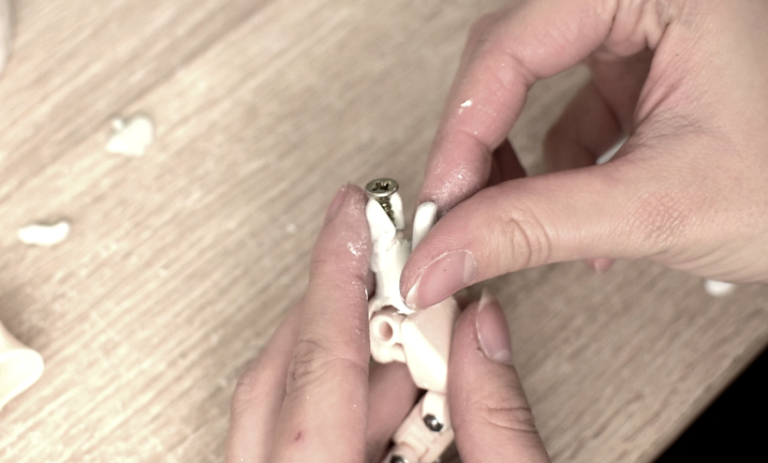
I also added 2 plastic circles to give better support for the head. These circles are a bit bigger, so the head is more stable now.
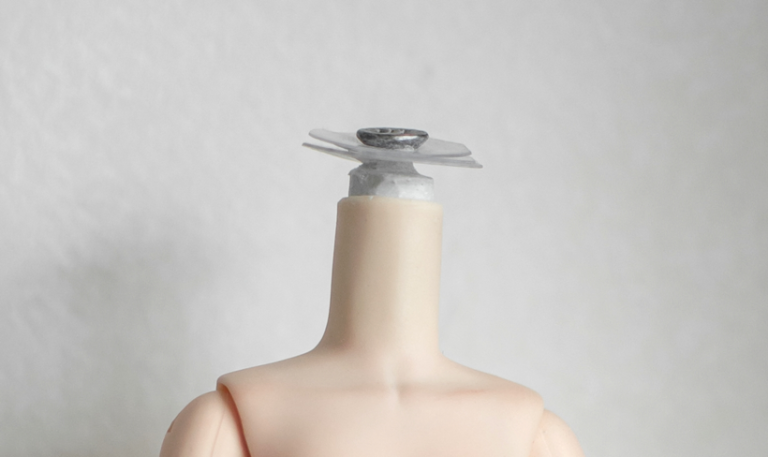
I’ll not include this process in my Pullip video, because after the 3rd try I did not turn on my camera all the time, so I have only little parts recorded, but I hope with this photo-tutorial I can help you if you want to use a new Obitsu body instead of the original Pullip body. I still recommend you to use the SBH Obitsu 27 cm version instead of this one if you want an easy body change experience.
I’ll definitely make a body changing video if I find a better & easier way to change the body! 
